Spring Skiing and Ski Glide | Ski Wax and More

Spring skiing is here, and with it come periods where you may question your ski glide - is it your ski wax, or something else? Here at Granite Chief Ski and Mountain Shop, with our reputation for ski tuning, we get this a lot, "its as though someone just hit the brakes on my skis, almost causing me to do an endo ... what can I do?" Whether you speak to Jesse who manages the tuning department, Herb the owner (with 40+ years of being in the ski tuning and ski shop business), Darby the manager and ex-PSIA examiner, or John who was a sales and tech rep for Holmenkol wax, we have a consensus on how to keep your skis gliding well for spring skiing, as morning spring corn turns to afternoon corn bisque (minus the shellfish, of course).
Here are the steps for improve spring skiing ski glide:
- First, the big picture, keep your skis clean. Wipe your skis off with a towel after every outing. During spring skiing, you are going to see a lot of "fallout" on the towel, containing a mix of blown in dust, tree oil / sap, machine oil, etc.. This residue build upon itself as the snow melts down. Wipe your skis down again, but not so hard you are pushing the "gunk" into the base.
- Next, check your base structure. What sort of pattern do you have on your base, or is there even a structure pattern? With spring skiing (think freeze / thaw temperature cycle), the snow becomes saturated with water, which actually acts like a suction, slowing your glide. A deeper, more aggressive structure helps break up this suction. From March on, Jesse adjusts Granite Chief's Chrystal Glide Stone Grinder to factor in this consideration. If you do not see a pattern on your base, or it is very faint, we can improve this important foundation for you.
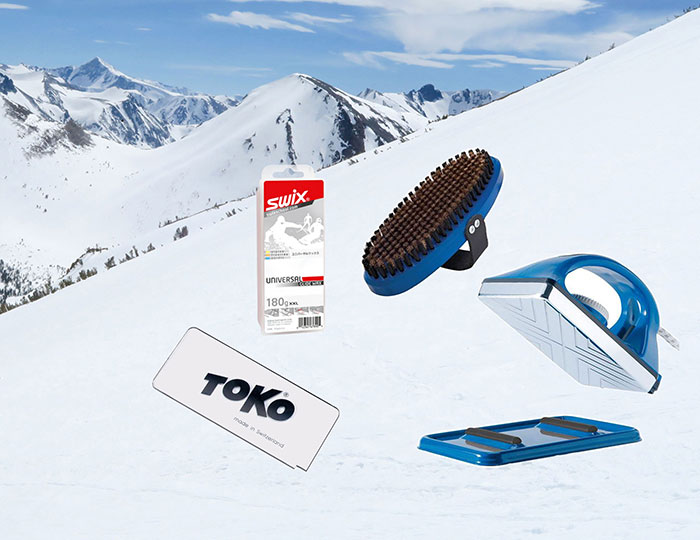
- Once you have a "spring structure" on your ski base, it is time to wax. Hot scrape your skis. By this we mean hot wax your skis using a soft wax, Swix Yellow C7 for instance, or Holmenkol Universal Natural. Then, using a plastic scraper, scrape the wax off your ski base while the wax is still soft to the touch. Pause for several minutes, let the wax harden, and brush out any remaining wax. If the wax was notably discolored, repeat the process until the wax color does not change. Remember to set your iron warm enough to melt the wax, but not hot enough to smoke the wax (which totally changes the chemical and molecular structure of your wax, making it not what you purchased to improve your ski glide!). See the label on your wax container for the manufacture's recommended iron temperature setting. Note, if it has been awhile since you have shown your skis any love, you may need a dedicated base cleaner to remove stubborn "adhesives" that simply do not wish to come clean.
- Now that you have your ski base well cleaned, apply a hot wax of Swix, Holmenkol, Toko, or your favorite yellow wax for spring skiing. Here again, an all purpose wax , including US made Wend Natural Blend, often works well. Before applying the wax to your skis, give your bases one more brushing, say with a soft brass brush by Holmenkol, Swix, Toko, and a final clean cloth wipe down. Apply and iron in the wax, but this time allow it to cool all the way down before you scrape, and brush out. For optimal results become religious about your hot waxing, and do it every 2-3 times out on your skis. John use to hot wax for each day out, but that's another story!
- Finally, the added advantage - keep a small stock of easy application wax in your pocket. Because spring skiing snow is abrasive, even the most effective hot waxing protocol may not completely keep your skis off the brakes. To best keep your skis gliding for spring skiing, stop for a brief glide refresher mid day, whip out your paste or rub on wax, and apply per the wax manufacture's instructions. Then, take a moment to enjoy your surroundings and/or company, and get back to enjoying your turns, minus the fear of an endo!